Plugging Cameyo into your own Google Cloud Platform environment
As a first step, you'll need to create a project and a service account within your GCP environment. Create the service account as Project Editor:

Give your service account a name and hit "Create and Continue"

Grant this service account Editor access to the project:

You'll then need to create a key for this account:
Select the name of your new service account:

Then select the "Keys" tab and "Add Key" and "Create new Key"

Create and download a JSON key:

It will be a file named xxxx-nnnn.json in your download folder
Visit the Compute Engine | VM instances section within your project. This step is necessary to ensure that the Compute engine is initialized.

Onboarding your cloud environment into Cameyo
You can now navigate to https://online.cameyo.com/byo-gcp and paste your GCP service account's JSON, click Submit.
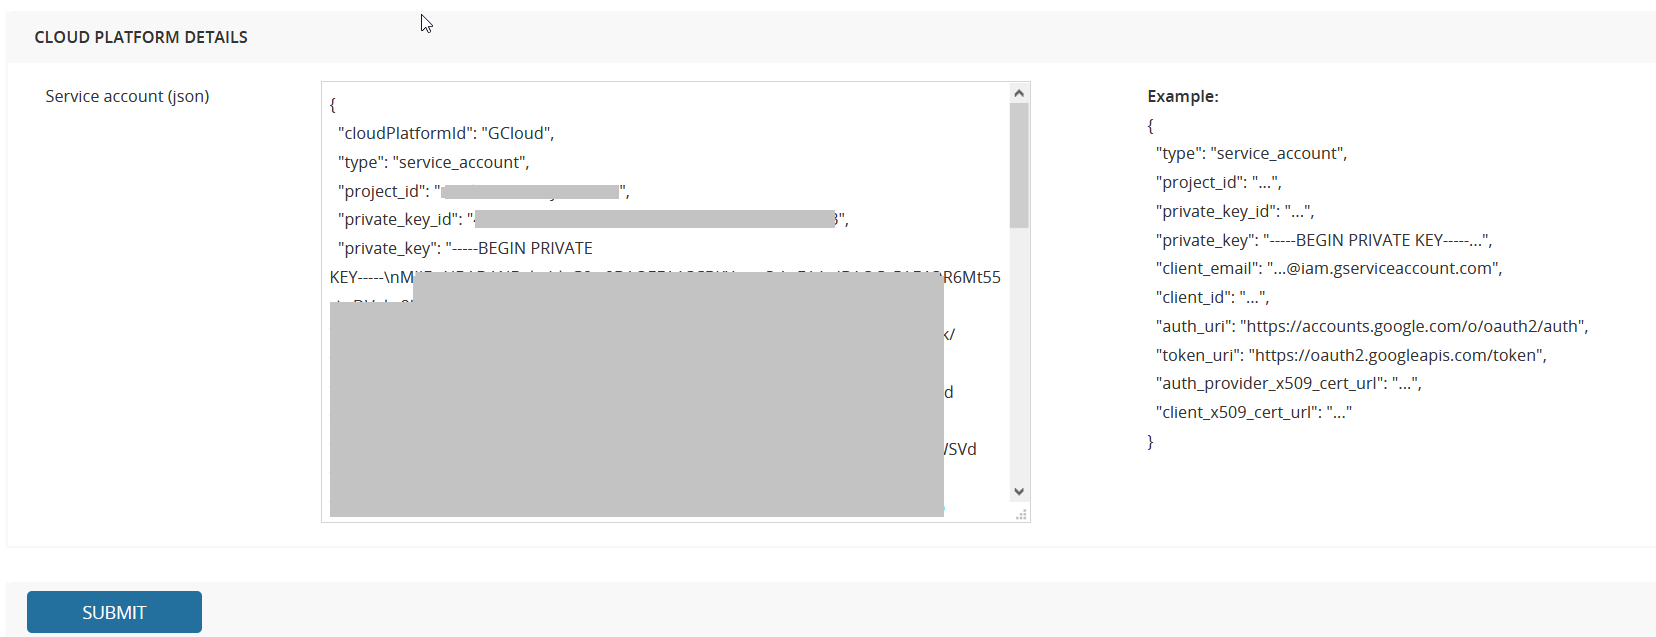
You are all set.
Quotas
Once your initial tests are done and if you intend to scale up capacity, it is important to check that your quota limitations are sufficient for Cameyo to work with.
Go to GCP's IAM & admin section and select Quotas. Check that your target region has sufficient Compute Engine API resources, specifically:
- CPUs (note that this is the total number of CPUs, not just VMs).
- Persistent Disk SSD / Standard.
- Snapshots.
- Static IP addresses.


Custom VPC and subnetworks
You can configure custom VPC and subnets for newly-created GCP instances. Learn more.
Custom resource tags and labels
You can configure custom tags and labels to be bound to created GCP computing resources. Learn more.
MSP sharing of BYO Cloud with managed accounts
If you are running an MSP account, you can share your BYO Cloud project with your managed accounts. This option will appear as a checkbox within your managed account's Company Settings page, only if a BYO Cloud account hasn't already been set for their managed account.
